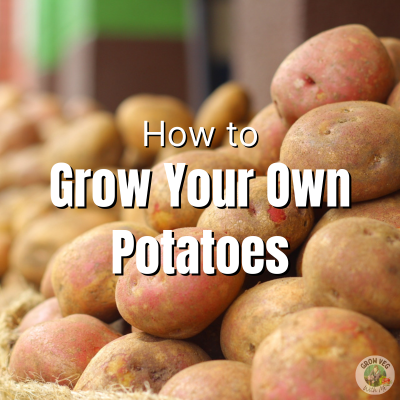
Potatoes are a staple that most people buy from the supermarket, but they are so easy to grow (and a lot of fun to dig up!). Once you know how to grow your own potatoes you may never want to buy them again.
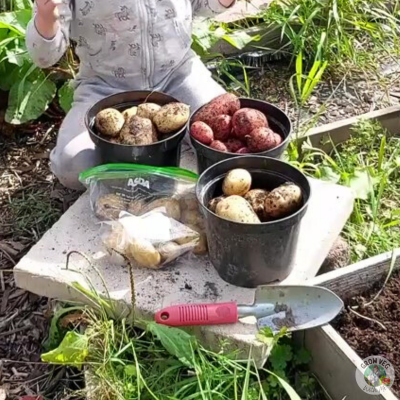
There are so many different varieties to try, some of which you might never have seen before. Colours of potatoes can be white, yellow, pink, or even purple!
Floury potatoes are great for roast potatoes or jackets whereas waxy textured varieties are really good for chips (fries).
There are two main types:
Early potatoes (first earlies and second earlies) grow quickly and are small and sweet. They are also called new potatoes.
Maincrop potatoes are bigger and take longer to mature, producing a bigger crop.
You don’t need a lot of ground room to grow potatoes. A small bed or border is enough, and they also do well in containers.
Early potatoes can be grown from March until May and can be harvested in as little as 12 weeks.
Maincrop potatoes can be grown from April and harvested from June onwards.
Potatoes grow well in the ground and in containers so it really depends on how much space you have to use.
You will get a smaller crop from containers than you would in a large bed in your garden or allotment, but there are benefits to both methods. There are even special potato growing bags that are available now and work well.
If you are growing in a bed, the ground will be at it’s best if it’s been prepared with some well rotted compost (preferably the previous autumn). Also, it is a good idea to add some general purpose fertiliser and mix it through, prior to planting your potatoes.
Container grown potatoes don’t need this extra step, so the whole process is easier.
Wherever you grow them, you will need to ensure that they are protected from frost.
Young plants are particularly vulnerable and can suffer a lot of damage when a late frost strikes.
2. Choose Your Seed Potatoes
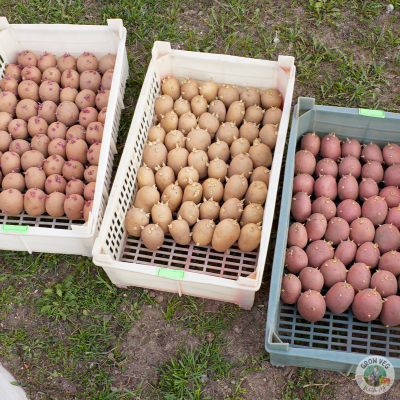
Potatoes are grown from ‘seed potatoes’ which are certified as virus free and are sold in garden centres and from online seed companies.
There are many different varieties available and it can be difficult to choose, but it’s important to decide which type and how many varieties you want to grow before you go shopping. This way, you can avoid wasting money and ensure you buy the right potatoes for your particular growing space.
I usually grow one bed of second early potatoes (charlotte are my all time favourites) and then two varieties of maincrop potatoes.
Seed potatoes are sold in bags by weight, the smallest usually being 1kg. That is a lot of seed potatoes if you’ve only got a few containers to grow in.
If this applies to you, I would recommend choosing just one variety or find someone else who wants to grow their own potatoes and share a couple of bags between you. This way, you can grow more than one variety without spending extra money or having seed potatoes going to waste.
It’s useful to think about the size of your family before going on a seed potato shopping spree. Even if you have enough space, there’s no point growing too many and wasting them because they’re rotting before you can eat them. It would be better to use the extra space to grow something else.
3. Chit Your Early Potatoes
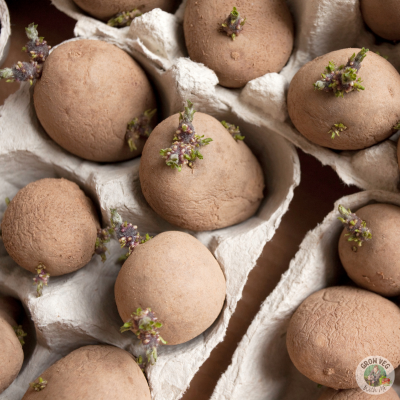
While not an essential step (some gardeners swear by it and others say they never do it), chitting is when you place your seed potatoes in a sunny, dry place to grow shoots before you plant them. It is said that this speeds up the growing process.
I use egg boxes to place mine in with the ‘eyes’ pointing upwards.
This is not the same as using potatoes that have sprouted in a dark cupboard or storage area. Chitted shoots will be dark green, sometimes almost purple. If your seed potatoes have grown white shoots while in the dark, they should be rubbed off and allowed to chit in a light place.
If you do plant them with the white shoots, It’s not a huge problem, it will be the same as if you hadn’t chitted them at all. They will just take longer to grow and be ready to harvest.
If you start the chitting process in February or early March, they will be ready to plant out on their recommended date (see label and check your last frost date). It takes around 4-6 weeks).
To make the most of your early potatoes, rub off any more than four shoots on each one – this will ensure the plant puts its energy into a smaller number of stems and tubers (potatoes) rather than wasting energy in more foliage.
There isn’t much need to chit maincrop potatoes because they take longer than earlies to mature and chitting them won’t make much difference in terms of this growing time.
4. Plant Out
Early varieties of potato can be usually planted out in March, but it all depends on when the last frost date in your area is. If you plant too early and the young plants have reached the surface, frost can kill them.
I always cover my planted seed potatoes with fleece and leave this in place until the last frost date has passed (usually late April to early May in my area).
First earlies can be planted in late March.
Second earlies can be planted in early to mid April.
Maincrop potatoes can be planted in mid to late April.
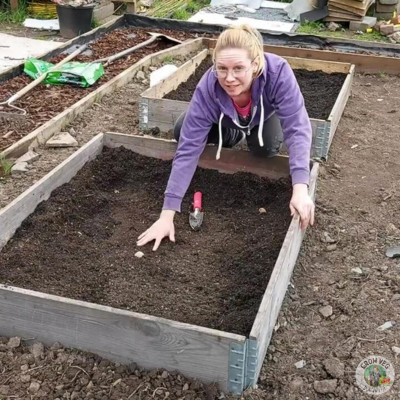
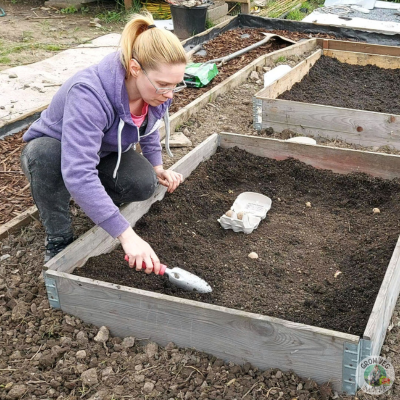
Place your seed potatoes in trenches around 6 inches deep and cover them with soil (at least an inch). Alternatively, you can just dig holes for them (I do this because my beds are small).
Make sure to log your sowing and planting out in a planner like this one, designed by me!
They are available to buy on Amazon, click below to see the whole range:
Place early varieties 30cm (12in) apart, making sure your rows have at least 60cm (2ft) between them. If you don’t give them enough room, you with either end up with less potatoes or they will be smaller.
Maincrops will produce larger plants and crops so will need a little more space. Plant them 37cm (15 in) apart and allow 75cm (30 in) between rows.
Containers should be at least 30cm (12 in) in diameter. Add multipurpose compost until it reaches a third of the way up.
Place one seed potato per container (or more if your containers are bigger) and then cover with more compost. Your containers should be around half way filled at planting stage.
5. Earth Up
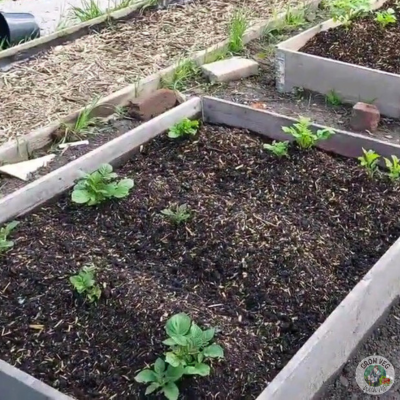
When the leaves break the surface of the soil it can be quite exciting, knowing your plants are alive!
Keep checking them and when the plants are around 10cm (4in) high, cover with more soil or compost to keep the plants underground.
Earthing up in this way protects the delicate plants from frost and also ensures that the tubers growing underneath aren’t exposed to sunlight.
If they do break the surface and aren’t covered quickly, the tubers will turn green and you won’t be able to eat them. Green potatoes are poisonous and will make you very ill, so always check that they are well covered.
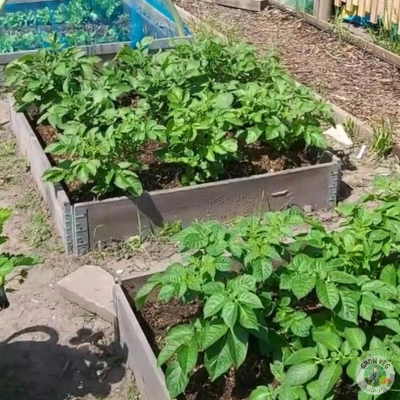
If growing in the ground, place earth on top of the plants, forming a small mound with only the top few inches still showing.
This process should be repeated every few weeks as the plants grow. You will end up with mounds and trenches in your potato beds, but this is necessary to keep tubers away from the sun.
Why earth up in stages instead of just covering the seed potatoes in a lot of soil straight away?
The potato tubers will start to form close to the surface of the soil, so by earthing up, you begin with a shallow bed and then more tubers will form above the first ones.
This will continue each time you earth up and you will end up with more tubers along the stems than you would if you just placed the seed potatoes in a deep bed. You may get plenty of tubers near the surface, but not at the bottom.
Container potatoes also need earthing up, just place more compost on top of the emerging leaves in the same way. Once the leaves reach the top of the container, the risk of frost should have passed and you can leave them to grow.
Four weeks after the first earthing up, repeat it and at this stage they will benefit from a feed (see below).
5. Care For Your Potato Plants
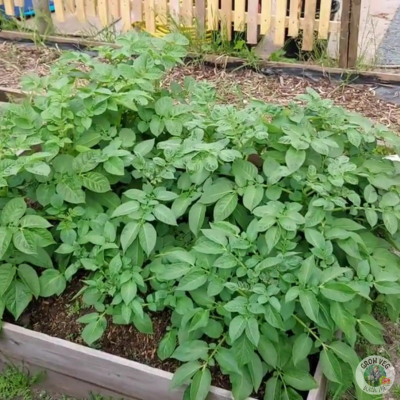
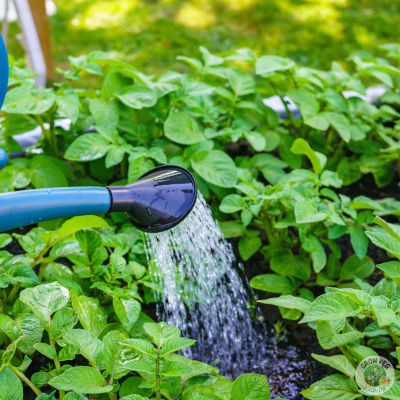
Keep your plants well watered in the beginning to allow the tubers to form and begin to grow. After this, your potato plants will need to be watered frequently because their large size creates a canopy, preventing enough rain water getting to the soil.
I would recommend a moisture meter to help with this so that you don’t under or over water your plants. I find it really useful because some beds and containers can be deceivingly dry on the surface, but underneath they are wet and actually don’t need any more water (I found this out the hard way when I killed my indoor cucumbers!).
When growing in containers, potato plants will dry out much quicker and will need more watering than those grown in the ground (but not too much!).
Potatoes are hungry vegetables – they need feeding regularly to produce the best crop.
After you have earthed your plants up for the second time, give them a multipurpose feed that is rich in nitrogen (such as ‘growmore‘) to keep the foliage strong and healthy.
Two weeks later, give them a potash feed (tomato feed is a good choice) and repeat this every two weeks to help the tubers grow well and store for longer after they’ve been harvested.
I always use organic fertiliser on my plants, that way I know that what my family and I are eating from the plot is safe and not full of chemicals. What is even better is making your own fertiliser if you have the space to store it (away from your house as it can be very smelly!)
Did you know that you can make your own fertiliser from the comfrey plant, which is a good potash feed?
6. Harvest Your Potatoes
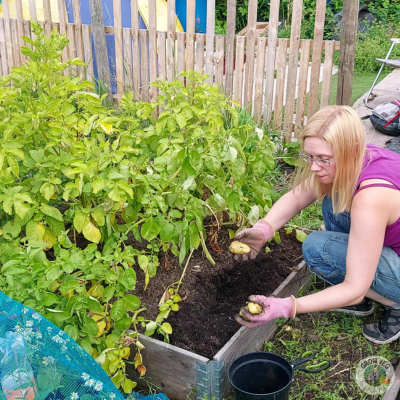
This is the best part of growing any vegetable, but with potatoes it is literally like digging for buried treasure. You just don’t know what’s under there until you reach in and rummage around!
My kids love digging up potatoes, and I always make sure they get involved whenever we harvest anything, but potatoes are one of their favourites.
I would recommend using your hands for this job, especially if you’ve never done it before. Gently remove some of the surface soil until you see tubers underneath. That way, if you’ve got too excited and dug too early, you can replace the soil and allow the tubers to grow a bit more.
Different varieties mature at different times and this also depends on the weather and time of year, so take your time to check before jumping in with the fork!
Your general time for harvesting goes as follows:
First earlies – June and July
Second earlies – July and August
Maincrops – Late August until October
Early potatoes are usually ready when the flowers open, but this is not always the case – some don’t even have flowers! Start checking around 2-3 months after planting instead of relying on flowers for best results.
Maincrops can be checked in late Summer. You can eat them before they are fully mature – they will just be smaller. If you plan to store them for a few months, it is best to hold off harvesting until the leaves yellow.
Once this happens, you need to cut off the tops of the plants. leave them in the ground like this, harvesting them in around 10 days.
Keep the potatoes on the surface, and let them dry out for a while (a few hours if the weather allows).
Some good advice is to only take what you need – that way, you don’t need to worry about storage and your potatoes will always be fresh (for at least a few weeks). Leaving the rest of the potatoes on the plant will also allow them to keep growing.
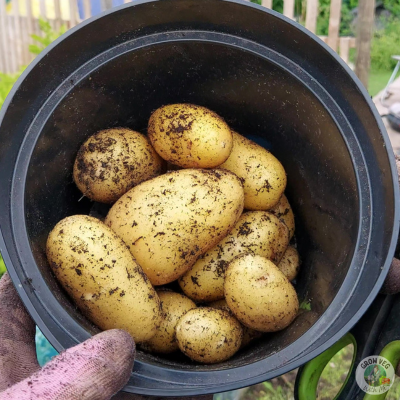
Harvesting container potatoes can only be done once, but there will be a relatively small amount of tubers anyway so this shouldn’t be a problem. All you need to do is empty the container (I do this in my wheelbarrow) and sift through the compost to find your potatoes.
Have a good look at your potatoes, checking for any rot or disease and discard any that aren’t safe to eat – especially green ones which are poisonous.
7. Store Your Potatoes
Early potatoes are best eaten a couple of days after harvesting as they will have a superior taste, but they can be stored in a cool, dry place for around 5 days.
You can leave them in the ground until you need them (although not for too long or they could rot or suffer from pests and diseases).
Alternatively, you can harvest them and store in used compost or sand. This greatly reduces the risk of the problems above (the used compost should not have many pests in it).
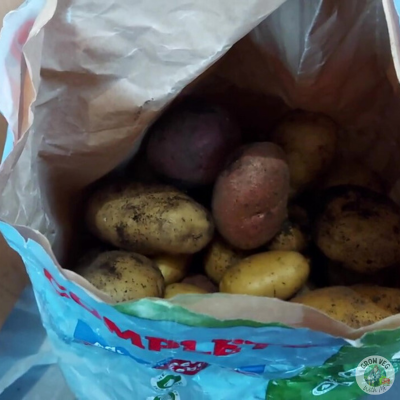
Maincrop potatoes can store for much longer (right through the winter if needed) if you wait until the plant’s leaves have turned yellow (method above). Don’t wash them, just brush off the soil after allowing them to dry out, before placing them somewhere cool and dark (e.g. a garage) in a bag made of hessian or paper.
Note: I recycle paper dog food bags to keep mine in!
If you haven’t eaten them all by spring, they will shrivel up and start to sprout, so it is best to use them up when you can, rather than waste them.
Extra Potato Info:
There can be some particular problems with growing potatoes:
They can be eaten by slugs if left in the ground for too long, so it is best to store them somewhere safe instead, if you have the space.
Scabs can form on the skin of the potatoes, but this doesn’t mean you can’t eat them. You can peel them and they will still taste good.
A fungal disease called potato blight can affect potato plants in damp weather and usually towards the end of the growing season. You can tell by the brown patches that appear on the stems of your plants. This is mostly seen on maincrop varieties.
Did you know you can buy blight and scab resistant varieties? Definitely something to think about if you have been having these issues.
So that’s how to grow your own potatoes – now that you have the knowledge, you’re all set to get growing!
I hope you found this post helpful – if you did please leave me a comment below and visit my instagram page and Youtube channel where you can see more of what I’ve been up to.
This post may contain affiliate links. If you click one and make a purchase, I may receive a small commission. This will be at no additional cost to you. You can read our disclosure policy here.