Growing your own salad is not only easy to do but it is so rewarding. It grows quickly and you can have harvests all year round if you time your sowings right. This guide aims to show you how to grow your own salad from seed to harvest.
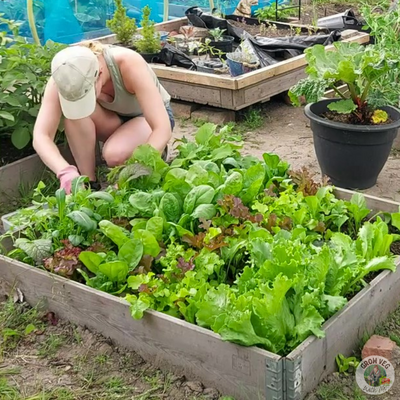
I use the ‘cut and come again’ method for my salad bed and it has always worked for me. The idea is that you cut a few of the young leaves each time and the plant will sprout new leaves but won’t actually mature.
This means that you will always have the most tender and tastiest leaves for the life of the plant.
You can find so many salad seeds available now. There are packets of individual plants (such as lettuce leaves or spinach) but there are also ‘salad mix’ types where a few different seeds are in the same pack.
The salad mixes are great if you’re a beginner and don’t know what leaves you prefer. You can try them and see which ones you would grow again and which you would prefer not to.
Some salad leaves are very mild in flavour (like lettuce leaves) but some can taste quite earthy (like chard) and some taste peppery (like rocket).
If you successionally sow your seeds every two weeks from early March to late August, you can have a constant supply until winter (I am in the UK, so your sowing dates may be different depending on your location).
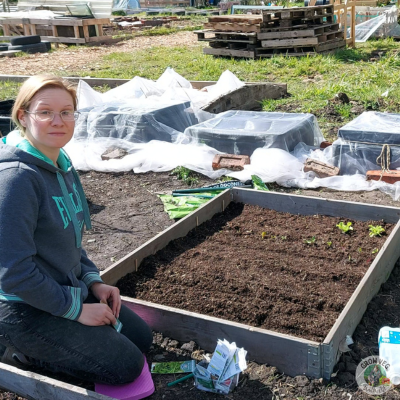
If you are growing on an allotment plot it will be easier for you to harvest your salad if you grow it all in the same bed. Then you will be able to quickly get it home before it wilts (unless you’re eating it at the plot which I often do!).
Salad grown at home in your garden can be in containers kept on a windowsill, in it’s own bed or even in your borders.
Wherever you choose, your salad will need plenty of sunshine and water so make sure to pick a place where it will not be difficult to get to.
Salad leaves may look appetising in a hanging basket and this will keep them away from the slugs and snails, but they may be tricky to get to if you harvest daily!
2. Sow Your Seeds
Seeds sown in containers, into multi-purpose compost can be sprinkled across the top, covered up and then watered.
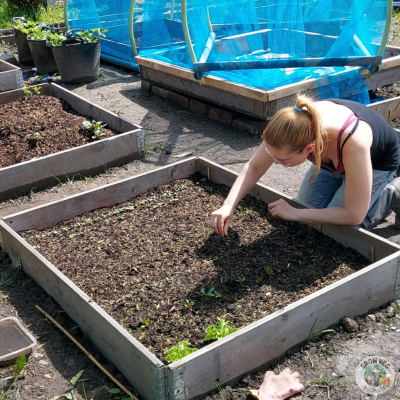
The method will be slightly different if you are sowing into the ground at your allotment or in your garden.
Not only are your seedlings going to germinate, but so will any weed seeds that have been waiting in the soil.
So that you can tell which are your precious plants, I would recommend sowing your seeds into rows after you have watered the soil.
Cover the seeds up with more damp soil (just a little) and press down lightly. Doing this makes sure that the seeds are touching the damp soil and they have a better chance of germinating.
If you water the soil after you’ve sown your seeds, they may move out of your rows and you won’t be able to tell where the weeds are.
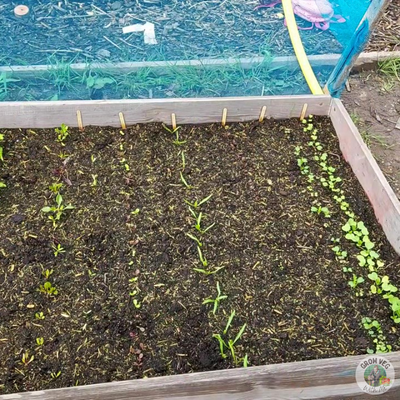
3. Thin Out Seedlings
Your salad won’t grow very well if it’s overcrowded so take out any seedlings that are bunched together (allow around a centimetre between each).
This will ensure they get enough sunlight to grow properly and they will taste better for it.
You don’t need to throw away your extra seedlings after thinning – you can eat them with your salads.
Make sure that your rows have at least four inches between them for the salad leaves to grow to a good size.
4. Water Regularly
Container grown salad will need watering more often than plants in the ground, so make sure they aren’t drying out or they may go to seed instead of producing new leaves.
Should any of your plants begin to flower (bolt) then they will need to be replaced as they will taste bitter.
Bolting is more likely to happen in the summer when conditions are hotter so it is especially important to keep on top of the watering at this time.
5. Weed and Weed Again
Keeping your salad free of weeds is important because they will be competing for light and nutrients with your plants.
Removing weeds regularly ensures that the water and nutrition in the soil is benefiting your salad and not those pesky weeds!
I almost ate a stinging nettle once that had disguised itself in my salad bed because I hadn’t weeded in a while – I learned my lesson after that!
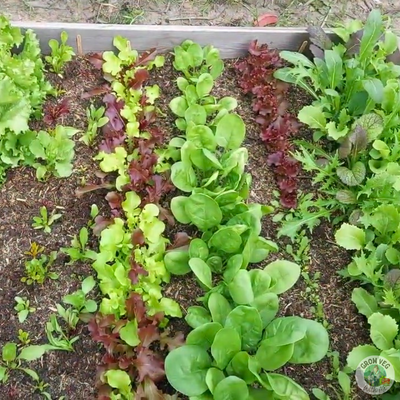
5. Harvest Time!
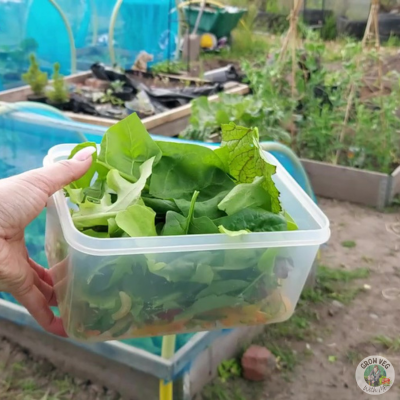
When your salad leaves have grown a little, forming around five or six leaves after the seedling leaves, you can start to harvest them.
Take just a few from each plant, making sure to avoid the central stem so that the plant can produce more leaves.
When you’ve taken a few harvests and your plants start to become bitter tasting or the leaves are becoming thicker it is probably time to remove them and plant new ones.
If you have been sowing in succession, you will already have the replacement plants to put in the place of the old ones. You can compost the old plants so they don’t go to waste.
And that’s all the information you need to start to grow your own salad – give it a go and see for yourself how easy (and tasty) it is.
I hope you found this post helpful – if you did please leave me a comment below and visit my instagram page and Youtube channel where you can see more of what I’ve been up to.
This post may contain affiliate links. If you click one and make a purchase, I may receive a small commission. This will be at no additional cost to you. You can read our disclosure policy here.